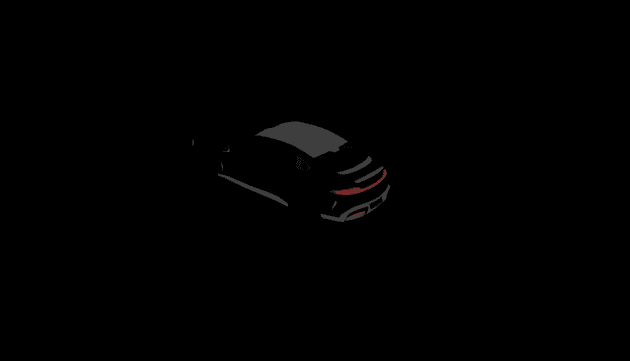
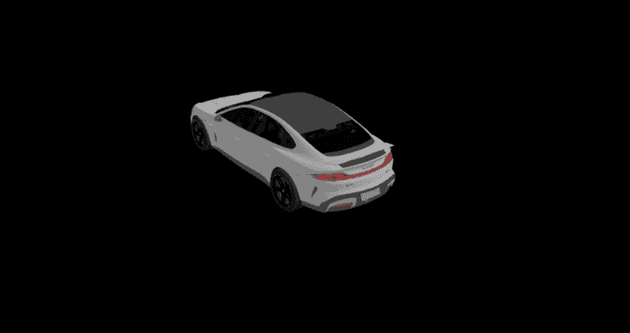
智能驾驶业务里常用 web 3d 来可视化地图和传感器数据、显示路径规划结果等方法协助算法调试和仿真,可以用 threejs 来做,毕竟在国内社区相对活跃,也比较容易上手,效果类似下图:
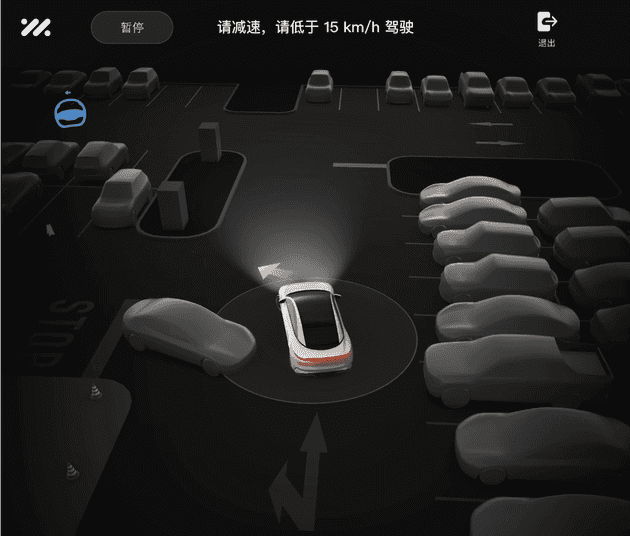
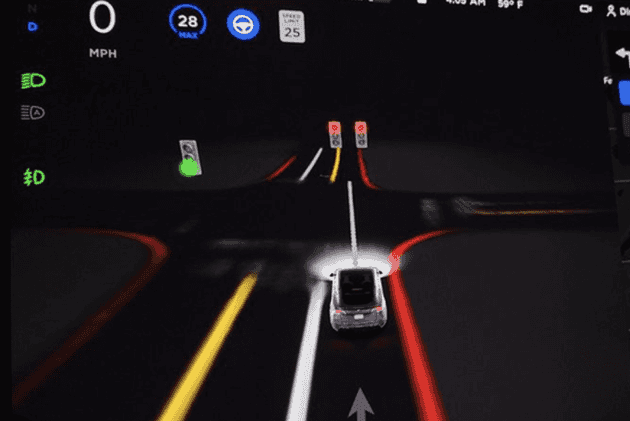
当然以上图片都是客户端的版本,web3d 版本的 ui 其实并不会这么精致,毕竟只是服务于内部算法和研发。这个专栏纯属作者一时兴起并希望能产出一个麻雀虽小五脏俱全的行泊场景(简称人太闲),本文就先把自车的基础场景搭建起来
本专栏基于 three^0.167.1 版本
初始化项目
用 Vite 脚手架快速搭一个 react 项目用来调试
pnpm create vite autopilot --template react-ts把 threejs 官网的例子稍微改下,加到项目里看看。新建一个 renderer 对象如下:
// src/renderer/index.ts
import * as THREE from "three";

class Renderer {
  constructor() {
    //
  }

  initialize() {
    const container = document.getElementById("my-canvas")!;
    const width = container.offsetWidth,
      height = container.offsetHeight;
    const camera = new THREE.PerspectiveCamera(70, width / height, 0.01, 10);
    camera.position.z = 1;
    const scene = new THREE.Scene();
    const geometry = new THREE.BoxGeometry(0.2, 0.2, 0.2);
    const material = new THREE.MeshNormalMaterial();
    const mesh = new THREE.Mesh(geometry, material);
    scene.add(mesh);
    const renderer = new THREE.WebGLRenderer({ antialias: true });
    renderer.setSize(width, height);
    renderer.setAnimationLoop(animate);
    container.appendChild(renderer.domElement);
    function animate(time: number) {
      mesh.rotation.x = time / 2000;
      mesh.rotation.y = time / 1000;
      renderer.render(scene, camera);
    }
  }
}

export const myRenderer = new Renderer();
// App.tsx
import { useEffect } from "react";
import { myRenderer } from "./renderer";
import "./App.css";
function App() {
useEffect(() => {
myRenderer.initialize();
}, []);
return (
<>
<div id="my-canvas"></div>
</>
);
}
export default App;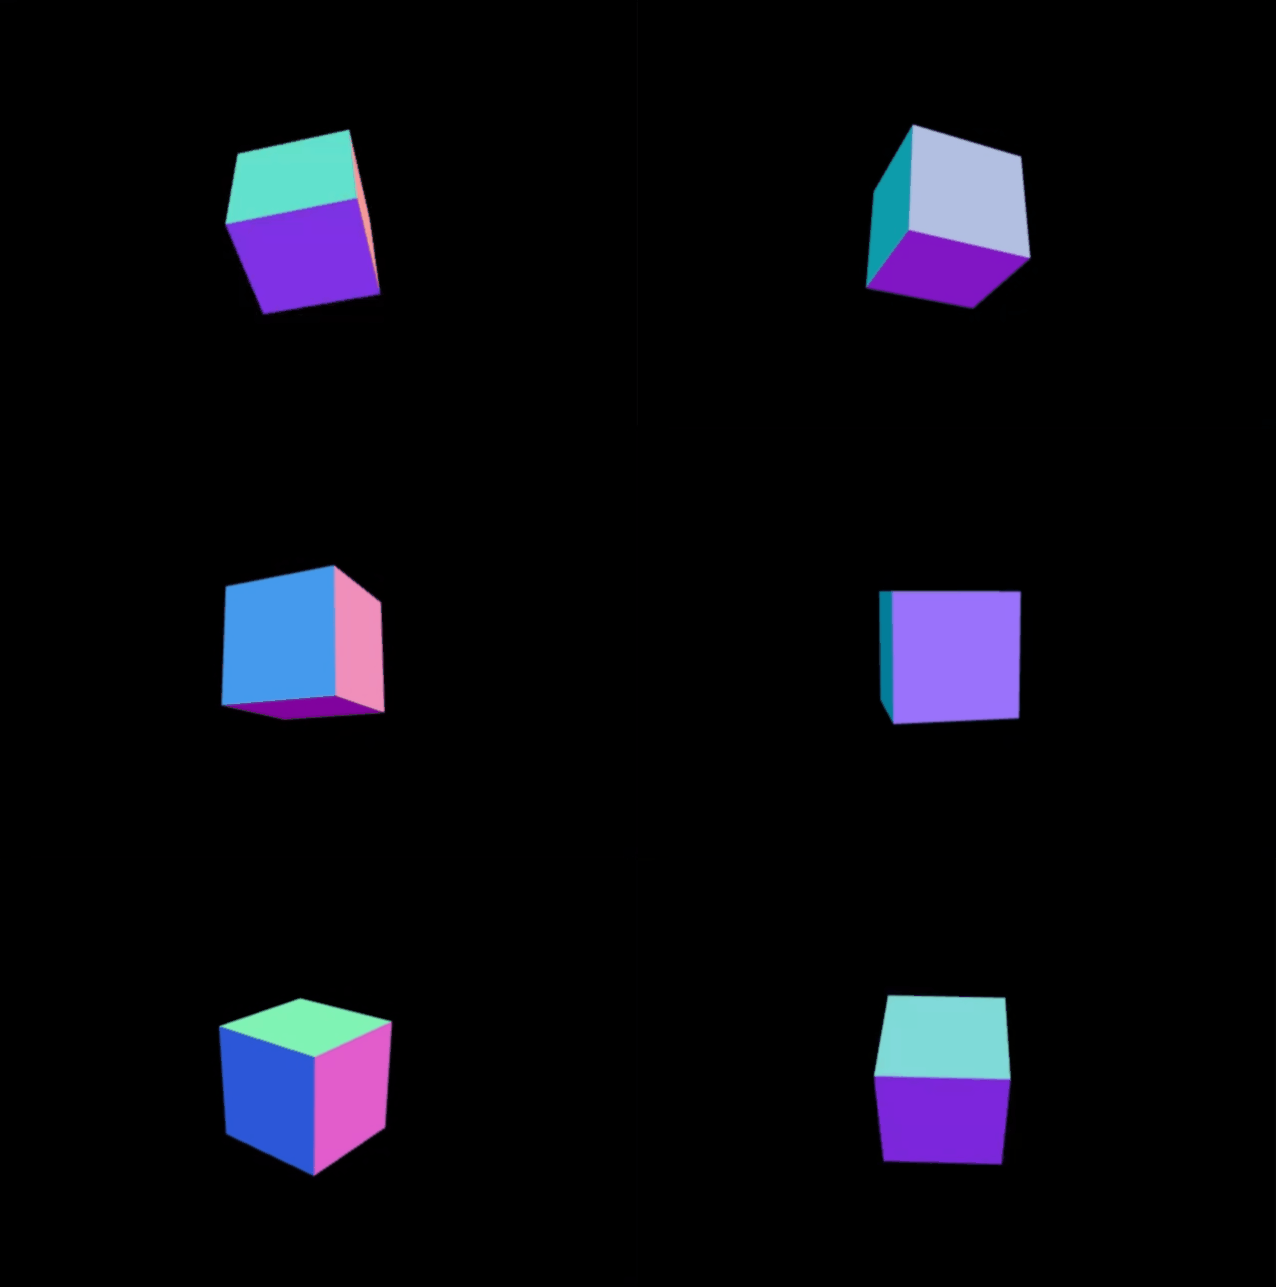
加载自车
ok,跨出第一步了,接下来整辆自车(egoCar)
“自车”指的是自动驾驶汽车本身,它能够通过搭载的传感器、计算平台和软件系统实现自主导航和行驶
可以上 free3d 下载个免费的车辆模型,里面有很多种格式的,尽量找 gltf/glb 格式的(文件体积小,加载比较快)。
这里以加载 glb 格式的模型为例,可以先把模型文件放到 public 目录下,因为加载器相对网页的根路径(index.html)解析,而 public 目录在打包后会原封不动保存到根目录里
import { GLTFLoader } from "three/examples/jsm/loaders/GLTFLoader.js";
const gltfLoader = new GLTFLoader();

class Renderer {
  scene = new THREE.Scene();
  // ...
  loadEgoCar() {
    gltfLoader.load("./su7.glb", (gltf) => {
      const car = gltf.scene;
      car.scale.set(0.1, 0.1, 0.1);
      this.scene.add(car);
    });
  }
  // ...
  initialize() {
    // ...
    this.loadEgoCar();
  }
}
但如果一定要放到 src/assets/models 目录里呢?然后通过 import 方式引入文件来用,那这么操作下来就会遇到这个报错(You may need to install appropriate plugins to handle the .glb file format, or if it’s an asset, add “*/.glb” to assetsInclude in your configuration):
怎么解?在 vite``.config.ts 文件加入 assetsInclude。顺带把 vite 指定路径别名 alias 也支持一下
// vite.config.ts
import { defineConfig } from "vite";
import react from "@vitejs/plugin-react";
import { fileURLToPath, URL } from "node:url";

// https://vitejs.dev/config/
export default defineConfig({
  plugins: [react()],
  // 指定路径别名
  resolve: {
    alias: {
      "@": fileURLToPath(new URL("./src", import.meta.url)),
    },
  },
  assetsInclude: ["**/*.glb"],
});
node:url 如果提示没有该模块,先安装下@types/node,可能要重启下 vscode 才能生效
pnpm i @types/node -D
接下来就可以直接用 import 导入 glb 文件来用了
import carModel from "@/assets/models/su7.glb";

class Renderer {
  // ...
  loadEgoCar() {
    gltfLoader.load(carModel, (gltf) => {
      const car = gltf.scene;
      car.scale.set(0.1, 0.1, 0.1);
      this.scene.add(car);
    });
  }
}
OrbitControls
增加 OrbitControls 插件,便于调节自车视角,这个插件除了围绕目标点(默认是原点[0,0,0])旋转视角,还支持缩放(滚轮)和平移(鼠标右键,触摸板的话是双指长按)
import { OrbitControls } from "three/examples/jsm/controls/OrbitControls.js";
class Renderer {
  initialize() {
    // ...
    const controls = new OrbitControls(camera, renderer.domElement);
    function animate() {
      // ...
      controls.update();
      renderer.render(scene, camera);
    }
  }
}
光源设置
看起来场景和自车都比较暗,咱们调下光源,加一个环境光 AmbientLight 和平行光 DirectionalLight,平行光位置放自车后上方,沿着自车方向(也就是原点方向)发射光源
// ...
// 没有特定方向,影响整个场景的明暗
const ambient = new THREE.AmbientLight(0xffffff, 0.4);
scene.add(ambient);
// 平行光
const directionalLight = new THREE.DirectionalLight(0xffffff, 1);
directionalLight.position.set(60, 80, 40);
scene.add(directionalLight);
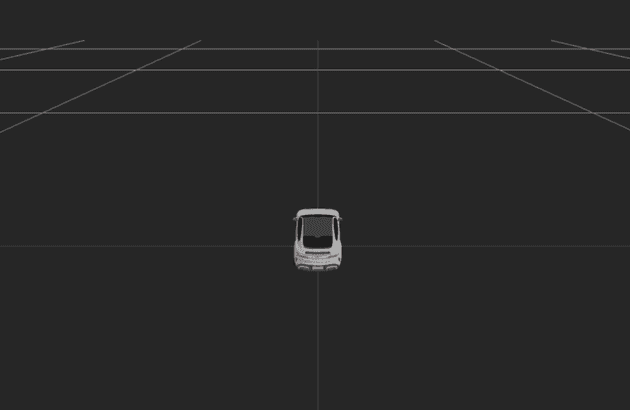
地面网格
增加坐标网格,提供一个水平的基准面,便于观察。这里需要新建一个 Grid 对象
// ...
// 50表示网格模型的尺寸大小,20表示纵横细分线条数量
const gridHelper = new THREE.GridHelper(50, 20);
scene.add(gridHelper);
// 顺带调高下相机位置
camera.position.set(0, 1, 1.8);
// 设置场景背景色(颜色值,透明度)
renderer.setClearColor(0x000000, 0.85);
道路实现
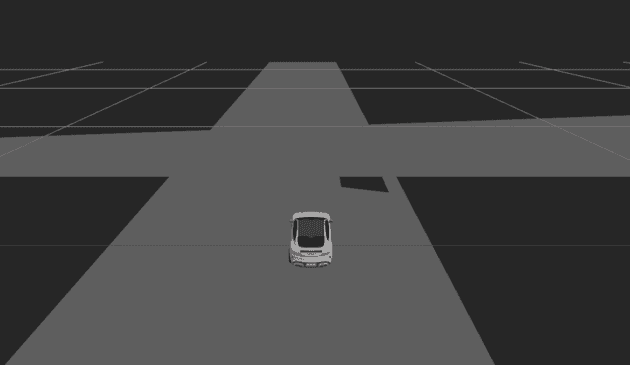
这里先简单实现一段不规则道路,封装一个 freespace 对象,还要考虑它的不规则和带洞的可能,所以需要做好接口定义,其实数据主要是点集,一般这些点集都是地图上游发下来的,可能是 protobuf 或者 json 的格式
export interface IFreespace {
  // 一般可以用于判断元素是否可复用
  id: string;
  position: IPos;
  contour: IPos[];
  // 洞可能有多个,所以这里应该设置成二维数组
  holes?: IPos[][];
  color?: IColor;
}
export interface IPos {
  x: number;
  y: number;
  z?: number;
}
export interface IColor {
  r: number;
  g: number;
  b: number;
  a?: number;
}
因为只是一个平面形状,所以可以用 THREE.Shape 来实现,它可以和 ExtrudeGeometry、ShapeGeometry 一起使用来创建二维形状
// src/renderers/freespace.ts
class Freespace {
  scene = new THREE.Scene();

  constructor(scene: THREE.Scene) {
    this.scene = scene;
  }

  draw(data: IFreespace) {
    const {
      contour,
      holes = [],
      color = { r: 0, g: 0, b: 0 },
      position,
    } = data;
    if (contour.length < 3) {
      return;
    }
    const shape = new THREE.Shape();
    // 先绘制轮廓
    // 设置起点
    shape.moveTo(contour[0].x, contour[0].y);
    contour.forEach((item) => shape.lineTo(item.x, item.y));
    // 绘制洞
    holes.forEach((item) => {
      if (item.length < 3) {
        return;
      }
      const path = new THREE.Path();
      path.moveTo(item[0].x, item[0].y);
      item.forEach((subItem) => {
        path.lineTo(subItem.x, subItem.y);
      });
      // 注意这一步
      shape.holes.push(path);
    });
    const shapeGeometry = new THREE.ShapeGeometry(shape);
    const material = new THREE.MeshPhongMaterial();
    // 注意:setRGB传参颜色值需要介于0-1之间
    material.color.setRGB(color.r / 255, color.g / 255, color.b / 255);
    material.opacity = color.a || 1;
    const mesh = new THREE.Mesh(shapeGeometry, material);
    mesh.position.set(position.x, position.y, position.z || 0);
    mesh.rotateX(-Math.PI / 2);
    this.scene.add(mesh);
  }
}

export default Freespace;
ok 先用 mock 的数据画一段带洞的直道,加在 initialize 代码后就行,其实道路上还应该有一些交通标线,后面再加上吧
最后再监听下界面的 resize 事件,使其能根据容器实际大小变化动态调整场景
  // ...
  constructor() {
    // 初始化渲染对象
    this.renderers = {
      freespace: new Freespace(this.scene),
    };
  }
  initialize() {
      // ...
      this.loadEgoCar();
      this.registerDefaultEvents();
      // mock
      this.mockData();
  }
 mockData() {
    this.renderers.freespace.draw(freespaceData1);
  }
  // 监听resize事件
  registerDefaultEvents() {
    window.addEventListener("resize", this.onResize.bind(this), false);
  }
  unmountDefaultEvents() {
    window.removeEventListener("resize", this.onResize.bind(this), false);
  }
  onResize() {
    const container = document.getElementById("my-canvas")!;
    const width = container.offsetWidth,
      height = container.offsetHeight;
    this.camera.aspect = width / height;
    this.camera.updateProjectionMatrix();
    this.renderer.setSize(width, height);
  }
最后
ok 先到这了,主要是先把项目搭起来,给专栏开个头,后面会继续分享下更多地图和感知元素以及他车、行人、障碍物等效果的实现

